Exposing screens screens can be both the most satisfying and the most maddening part of screen-printing. Good films make good screens, and good screens make good prints. Poorly exposed screens make for nightmares.
Every light table is different, so I'm going talk about the light table that we use at my studio - The Compound Gallery in Oakland, Ca. The table that we have is a Ranar XPO exposure unit. This exposure unit uses uv light from 8 black light bulbs to expose screens. It has a built in vacuum and timer. This light table is super reliable and easy to use, but it can be a little tricky to remember all the steps in the beginning. Use it a couple of times and you'll be a pro.

thats one good looking exposure unit
Have your film and a coated, dry screen ready. Touch the screen all over to be sure that all of the emulsion has dried--check around the edges of the screen where the emulsion may be thicker or may have dripped. If anything feels damp, give it more time in the dry box.
1) Turn the power on (large green switch)
2) Check that light and vacuum switches (large black switches) are in the "auto" position
3) Set the timer. The time will depend on the emulsion that you are using, as well as the artwork. Its a little bit of trial and error to find the correct timing for each exposure table and emulsion combo. This link will take you to a manual that contains some basic exposure times for some common emulsions. I generally use Ulano 925wr, and on this table I have found it to be a pretty reliable 4 minute exposure for most artwork.
The green numbers are what you will use to set the time. Use the black up and down arrows on the timer to adjust the green numbers up and down to the correct time. The yellow arrow will let you move through the digits. Move through the digits adjusting the numbers until you have the correct time (in minutes) set in the green numbers. Then hit the blue "mode" button to sync the red numbers with your new green numbers. The time that is shown in the red (top) numbers is the time that the screen will expose for.

Control panel orientation
Lift the top of the table, this is a hinged frame around a black neoprene blanket. The blanket blocks outside light while the screen is being exposed, and the blanket will pull snug around the screen when the vacuum is activated.
4) Place your film positive image side up onto the glass, all images and type should be in the correct orientation (nothing backward or reversed).

Film positive on the glass bed of the exposure table
5) Place your screen, mesh side down, over the film. Center the film inside the screen, images too close to the edge of the screen will not expose.
6) Laying a rope over the screen will give the blanket more surface area to snug up to while the vacuum is running. To get a good stencil on your screen, contact between the glass/film/mesh must be tight tight tight. Any gapping will allow light to bend around the edge of the film and overexpose thin lines and the edges of the artwork. The vacuum gives decent contact, but I do anything I can to improve the snugness between the film and the screen. Place the rope over the screen and glass. Doesn't matter if it goes over the image area. Shut the hinged lid of the light table and latch in the front.

Laying a rope over the screen to help with contact
The order (from top to bottom) will be:
- neoprene blanket
- rope
- screen (mesh side down)
- film positive
- glass
- bulbs
7) Flip the black vacuum switch from "auto" to "manual". This will cause the vacuum to flip on and be super loud. Let the vacuum run for a minute or so. This will give the vacuum a chance to get the screen tamped on tight before the light switches on. While the vacuum is running, I like to take some books and fill the inside of the screen (over the blanket) with heavy books. Put the books over the area where your art is located. This will help with the contact between the screen and glass, and help keep light from creeping around the edges of the film.

Books I will maybe read one day
8) Once the vacuum is sucking the blanket down fully, you can flip the light switch to "auto". There is a button above the switches that is called "Push button to activate timer". Push this button immediately. This will set the light and vacuum to the time that you set above. You can now walk away from the table and leave it to do its thing.
9) When the timer is done you will hear the vacuum flip off. The light will flip off as well, but you won't hear that unless you're moth - and maybe you are. The blanket will keep the screen protected and dark as you walk back to the exposure table, so no need to rush. Remove the books and unlatch the table. Leave the film on the exposure table and take your screen to wash out.
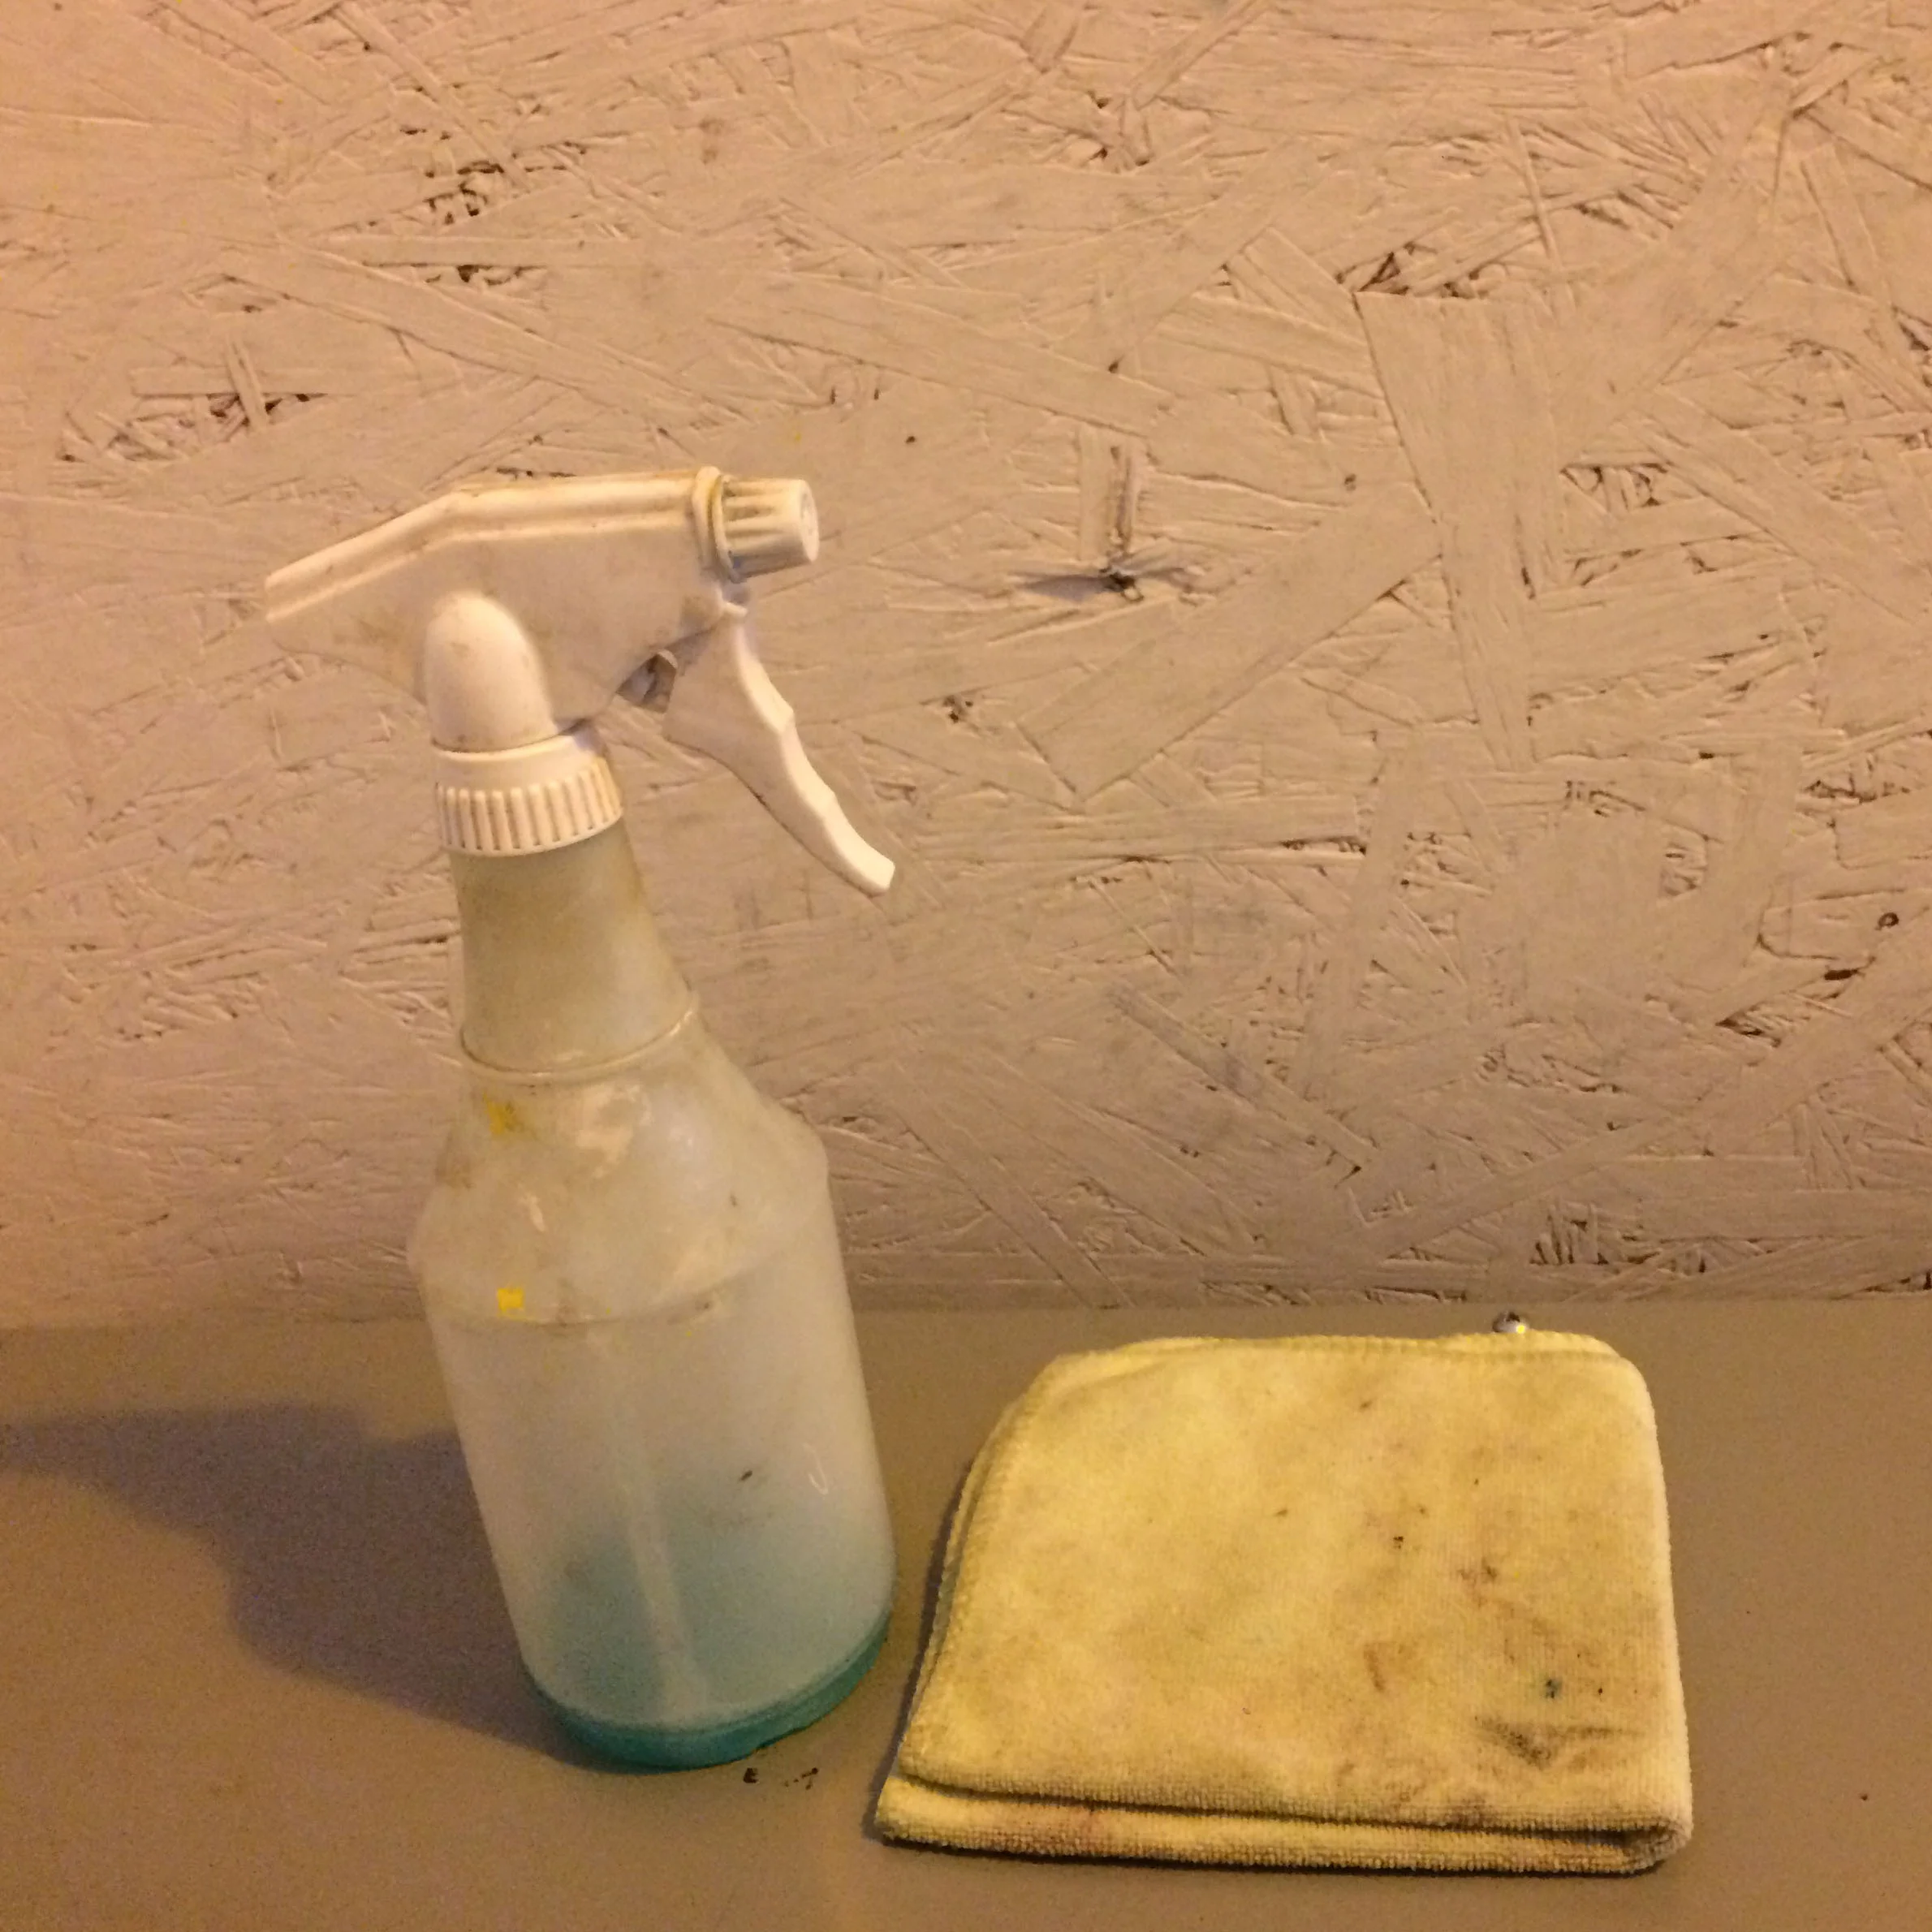
Windex and microfiber towel. Clean the table after using!
10) After washing out your screen and setting it to dry, check the table. If your screen had any wet emulsion on it some may have gotten left on the glass. It is your responsibility to clean that emulsion off of the glass. Use windex, microfiber, and your fingernails to remove the stuck emulsion. Don't use a blade or scratch the glass, and don't leave it for somebody else to clean off.
Remove your films and put them away. Turn the power off. Close the table. Done.